Before getting pregnant I read about a DIY mom who laid out 40 projects to complete during the 40 weeks of her pregnancy in preparation for the baby. I thought this was such a great idea, and I decided to do the same in getting ready for our daughter! I quickly learned that 40 projects is A LOT to create, and completing one project per week is an absolute joke! I completed zero projects during my first trimester when I was very busy with work and had no energy- ugh, that first trimester blah.... Most of the projects took place during my second trimester, in that burst of nesting energy that just happened to coincide with Thanksgiving and Christmas breaks at work giving me extra time to create :)
I am only going to post pics of the actual projects that I made, and include links to any tutorials or patterns that I used. So many blogs just link to pics on other sites that look amazing but make me think "there is no way I could ever make that!" From one crafty, but not particularly talented, diyer- all of these projects are very doable!
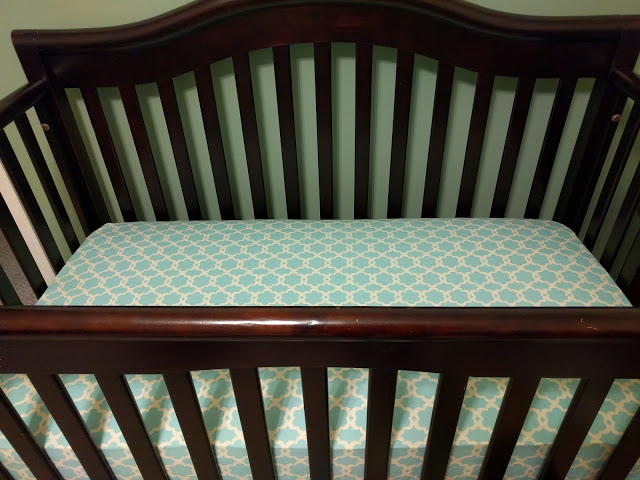
To break up the overwhelming amounts of projects, I am posting them in 4 parts with 10 projects each (that is, if I really do finish all 40...). This first list contains some basic projects that you can make in the beginning- things you will need for any baby and can easily make gender neutral since you won't know yet if you are going to have a girl or boy.
Enough chatting- on to the list!
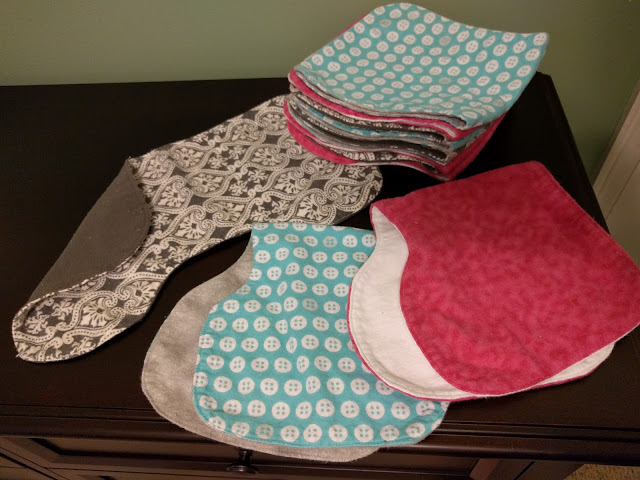
1. Contoured Burp Cloths
From what I have read, you can't have enough of these! My sister never used a single one on her son, but I think she has the neatest child on the planet, and that is unlikely to duplicate itself in my daughter. I am prepared for spit up! These were so easy to make! I make a dozen of them (four of each of the three different fabric patterns). I used the
free pattern from Floating on Cloud9. The only change that I made was to make both sides flannel, rather than cotton on one side and flannel on the other. Many moms had commented that the cotton didn't absorb well, and that kind of defeats the purpose of a burp cloth! I am so pleased with how they turned out. I bought the flannel at Joann's the day after thanksgiving for 70% off, and the total cost to make 12 was $4. In the store burp cloths run about $1 each, so I saved $8 (and mine are super cute!).
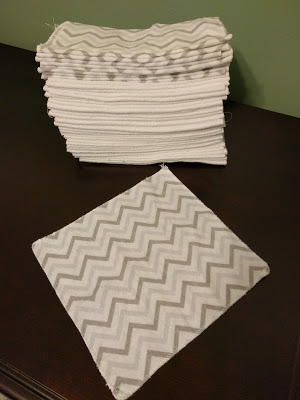
2. Cloth wipes
Yes, we are planning on cloth diapering. From everything that I have read, ti is easier to use cloth wipes with cloth diapers because they can all go in the same bag to be washed instead of having to separate the wipes into a separate trash can. But the price of cloth wipes is outrageous! They run about fifty cents each, and to have a good stash you need around 50. That adds up pretty quick considering it is just a cloth to wipe a baby's behind. These cloth wipes were so easy to make- they are 8 x 8 inch squares of flannel that I serged around the edges. If you don't have a serger, a plain zigzag or overlock stick on a regular sewing machine will do the job. You will get 20 wipes out of each yard of flannel that you buy (or if you do 7 x 7 inch squares, you can get 25 wipes per yard). I bought the flannel on sale and made 50 cloth wipes for $4. To buy them would have cost $25, so I saved $21).
Note: After making these I realized that they can be used for SO MANY THINGS! Wiping runny noses, sticky hands, or spills, I have a feeling that I am going to wear this set out pretty quickly and need to make more!
3. Nursing pads
Once again, I wanted to have a reusable option for this item rather that using disposables. I used the free printable pattern from
DIY Maternity but didn't sew in the darts (it would have made it way too thick). I didn't follow their directions for making them either- instead I used three layers: flannel to go against the skin for wicking away moisture, a layer of Zorb in the middle to hold any leaks, and and an outer layer of fleece to keep moisture from soaking through onto clothing. I layered the three fabrics and serged around the edge- super simple! Zorb is a special super absorbent fabric that absorbs the same amount as ten layers of flannel! I ordered mine by the yard on etsy (it runs about $10/yard). Again, to buy these at the store is really expensive. On average they run about $7 per set! I made 12 sets, which used 1/4 yard of each of my three fabrics, costing a total of $4. (I saved $80!!!)
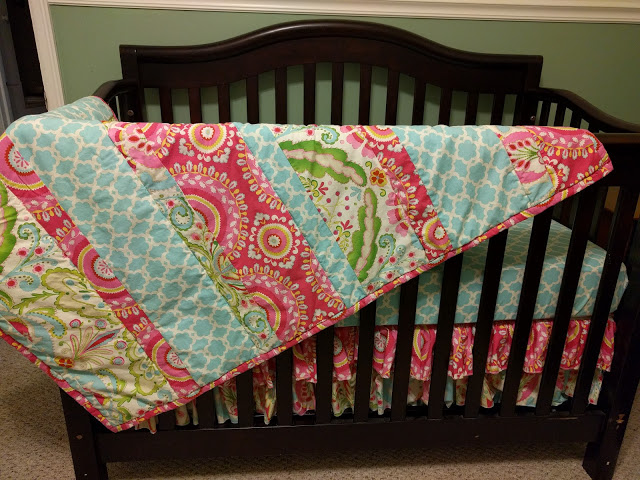
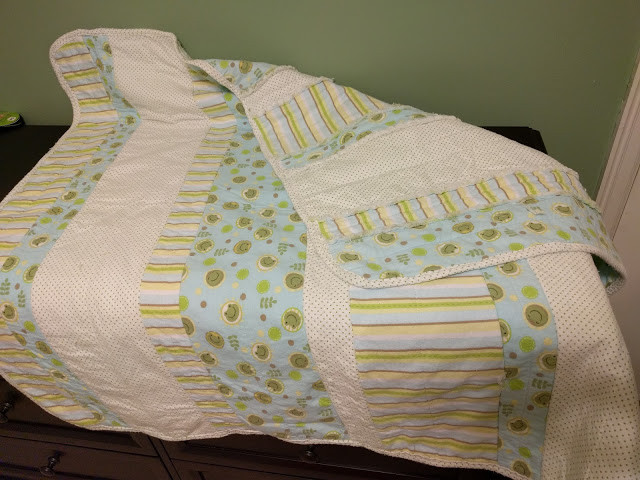
4. Rag Quilt
This is such a cute baby blanket, and really easy to put together. I had never made a quilt before, and this one turned out great! I followed the tutorial by
Do It Yourself Divas. The only change that I made was to add a layer of fleece to the middle of the blanket. I wanted to use it as a blanket that I could put down on our hard wood floors for the baby to play on and the fleece added just the right amount of weight and cushion.
5. Knitted Baby Blanket
I love to knit, so of course I have to knit a baby blanket! After looking at a lot of different designs, I finally settled on
this pattern by All Free Knitting. The only change I made was to make it 5 x 5 squares instead of 5 x 7.
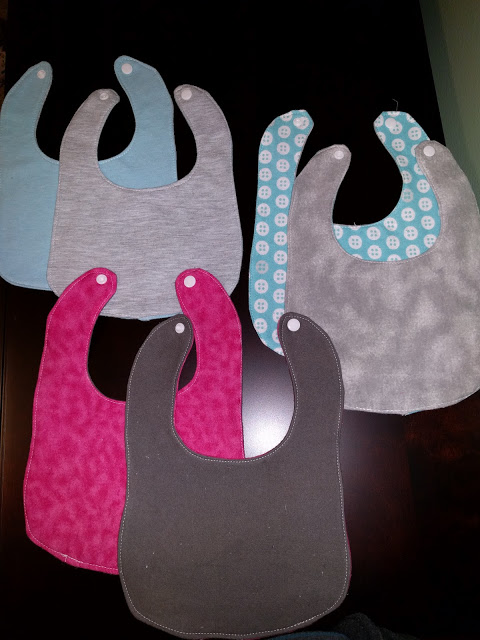
6. Bibs
Bibs are an essential, so why not have some soft, cuddle, and cute ones? I used this
pattern and tutorial from Life with my Littles. The only difference is that I used two layers of flannel to make mine instead of using cotton and minky. This was another really easy project to whip out in an afternoon, and I made half a dozen. Bibs cost $2 each, and these cost me $2, for a savings of $10.
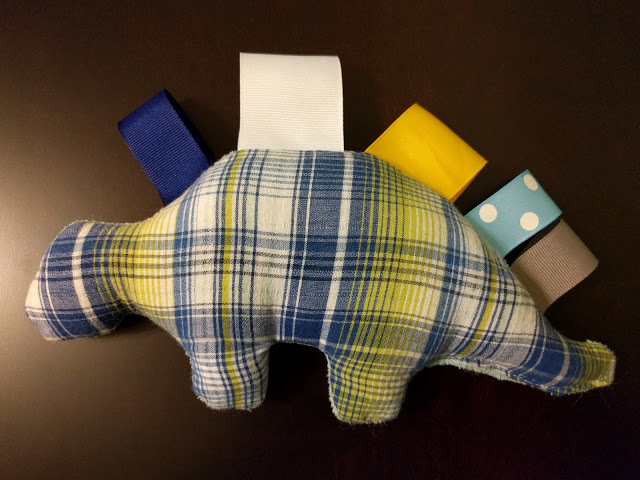
7. Taggie Toys
These taggie toys are so cute! And what better way to use up all of the little ribbon scraps I have left over from other projects! I used this
pattern and tutorial from Beloved Ones to make the dinosaur, and it is adorable! I hope that I have time to make this
owl and this
giraffe :)
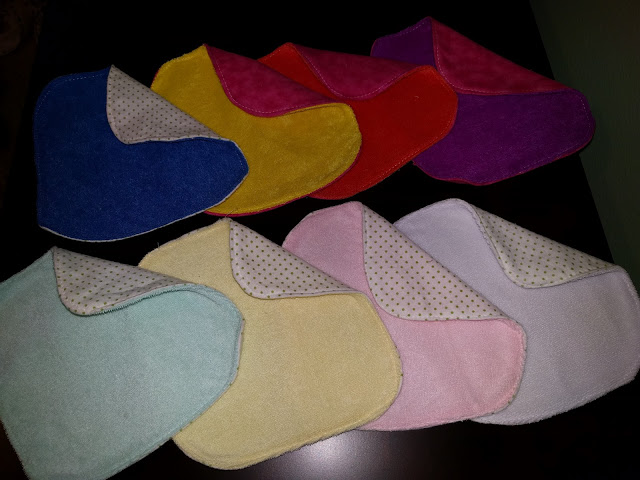
8. Wash Cloths
I was originally going to make my own washcloths by cutting squares of terry cloth and backing it with flannel, but then I ran across a four pack of baby washcloths at the dollar store. I loved that they came in a variety of colors, so I bought two boxes. I cut out flannel pieces to match, sewed right sides together, turned then right side out and top stitched to complete. The weight turned out just right, and they made for a quick and easy bunch of washcloths. If you are looking for a more detailed tutorial, there is a great one at
2 Little Hooligans. Washcloths cost about $1.50 each, and I made 8 for $3, for a savings of $9.
9. Door Latch Cover
So this item slips over the door handles and holds down the latch so that you can open and close the door without the click waking the baby. I used
this tutorial from Practically Functional. The first one I made with just cotton fabric was too thin to hold down the door latch, so I added a layer of flannel in the middle to give it more weight. That did the trick! I'm not sure how necessary this item is, but it took five minutes and some scrap fabric to put together, so it's worth a try!
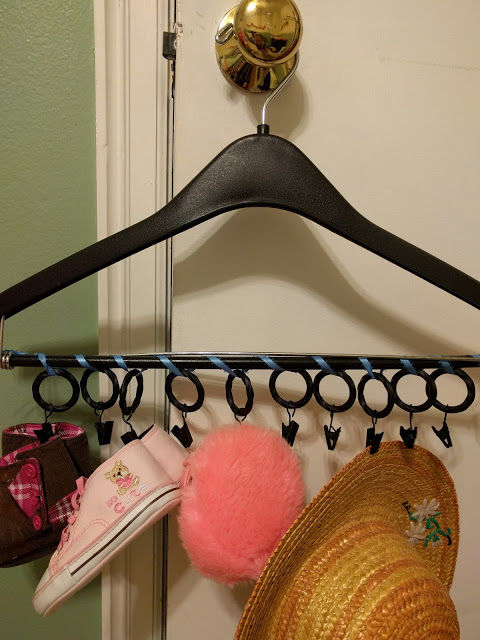
10. Baby Accessories Hanger
I'm sure I saw this idea somewhere, but I really can;t remember where. This baby accessories hanger is so easy to put together and is a simple way to keep all of the little hats, mittens, and shoes together in a place where you can easily see and access them. All you do is buy a pack of shower curtain rings with the clips, loop a ribbon around each one and a sturdy pants hanger, and voila! Now you can hang all of those little items in the closet instead of taking up a drawer where they all get jumbled up together.